How to Capture Professional Photos and Videos with Your iPhone
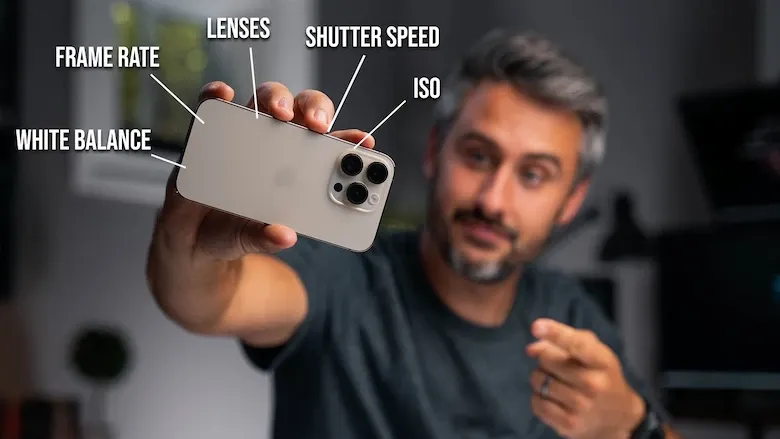
Are you looking for ways to enhance the quality of your iPhone photography in different lighting conditions? Whether you want to document your daily moments or create high-quality professional content, this guide will provide you with a comprehensive approach to maximizing your iPhone’s camera potential.
In this article, we’ll explore essential tips, advanced settings, and practical techniques that can significantly improve the quality of your photos and videos. From optimizing camera settings to mastering composition and lighting, you’ll discover how to take full advantage of your iPhone’s powerful camera system.
How to Master iPhone Photography & Filmmaking in 5 Minutes ?
I’ll now introduce you to six effective methods to improve the quality of your iPhone photography. Let’s dive into these techniques and explore how they can elevate your shooting experience.
1. Utilize the Rule of Thirds
The Rule of Thirds is a powerful composition technique that enhances photo quality and balance. The iPhone Camera app includes an optional grid feature that divides the frame into nine equal sections using two horizontal and two vertical lines. This helps you position key elements in your shots for a visually appealing composition.
How to Enable the Grid on iPhone:
- Open the Settings app.
- Scroll down and tap Camera.
- In the Composition section, toggle on Grid.
Tips for Using the Rule of Thirds:
- Identify Key Elements: Determine the most important elements in your scene, such as people, buildings, or trees.
- Positioning: Align these elements along the grid lines or at the intersection points for better balance.
- Horizon Alignment: When capturing landscapes, place the horizon along one of the horizontal lines for a more natural look.
- Visual Balance: To create a balanced composition, consider placing a secondary, less prominent element on the opposite side of your main subject.
- Experiment: Don’t hesitate to adjust positions and try different compositions to see what works best.
2. Capture Top-Down Shots with the Level Tool
How to Enable the Level Tool:
- Open the Settings app on your iPhone.
- Scroll down and tap Camera.
- Toggle on Level under composition settings.
How to Use the Level Tool:
- Open the Camera app and select Photo or Portrait mode.
- Hold your iPhone directly above the subject.
- Adjust the camera until the two floating crosshairs align at the center—this ensures the shot is perfectly level.
3. Capture Photos Using Burst Mode
How to Enable and Use Burst Mode:
- Open Settings and go to Camera.
- Enable Use Volume Up for Burst mode.
- While using the Camera app, press and hold the Volume Up button to capture a burst of continuous shots.
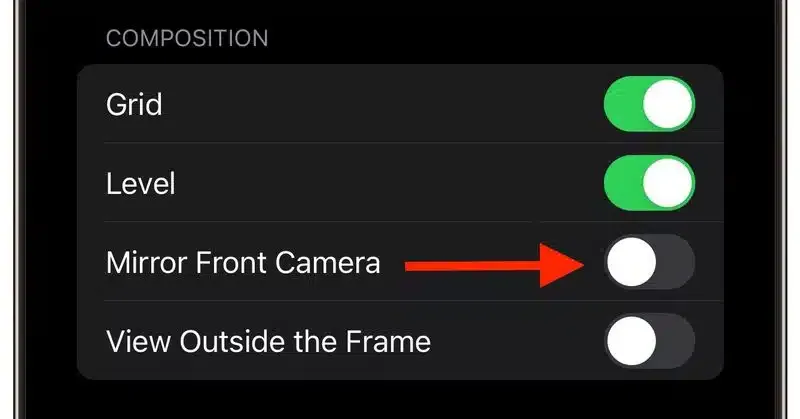
4. Mirror Your Selfies for a More Natural Look
How to Enable Mirrored Selfies:
- Open Settings and select Camera.
- Toggle on Mirror Front Camera.
5. Enable ‘View Outside the Frame’ for Better Composition
How to Enable "View Outside the Frame":
- Open Settings and go to Camera.
- In the Composition section, toggle on "View Outside the Frame".
6. Capture Perfectly Leveled Horizontal Shots
How to Use the Horizontal Leveling Tool:
- Open the Camera app and frame a horizontal scene.
- Adjust your iPhone’s position until the dashed lines align and turn yellow.
- Capture the shot for a perfectly balanced composition.


